Create Work Order
Objective: Gain an understanding of how to create a Work Order.
Work Order Process
Work Orders can only be created against an asset that is in an 'Active' or 'Decommissioned' state. This can be achieved by using any one of these three methods.
Creating a Work Order via the Plan Tab
The first method is to access Work Order "Create" by selecting "Maintenance" from the Navigation Sidebar, and then "Operational" from the Navigation Dropdown or can also be accessed by simply clicking on the Operational tile on the Maintenance Dashboard.
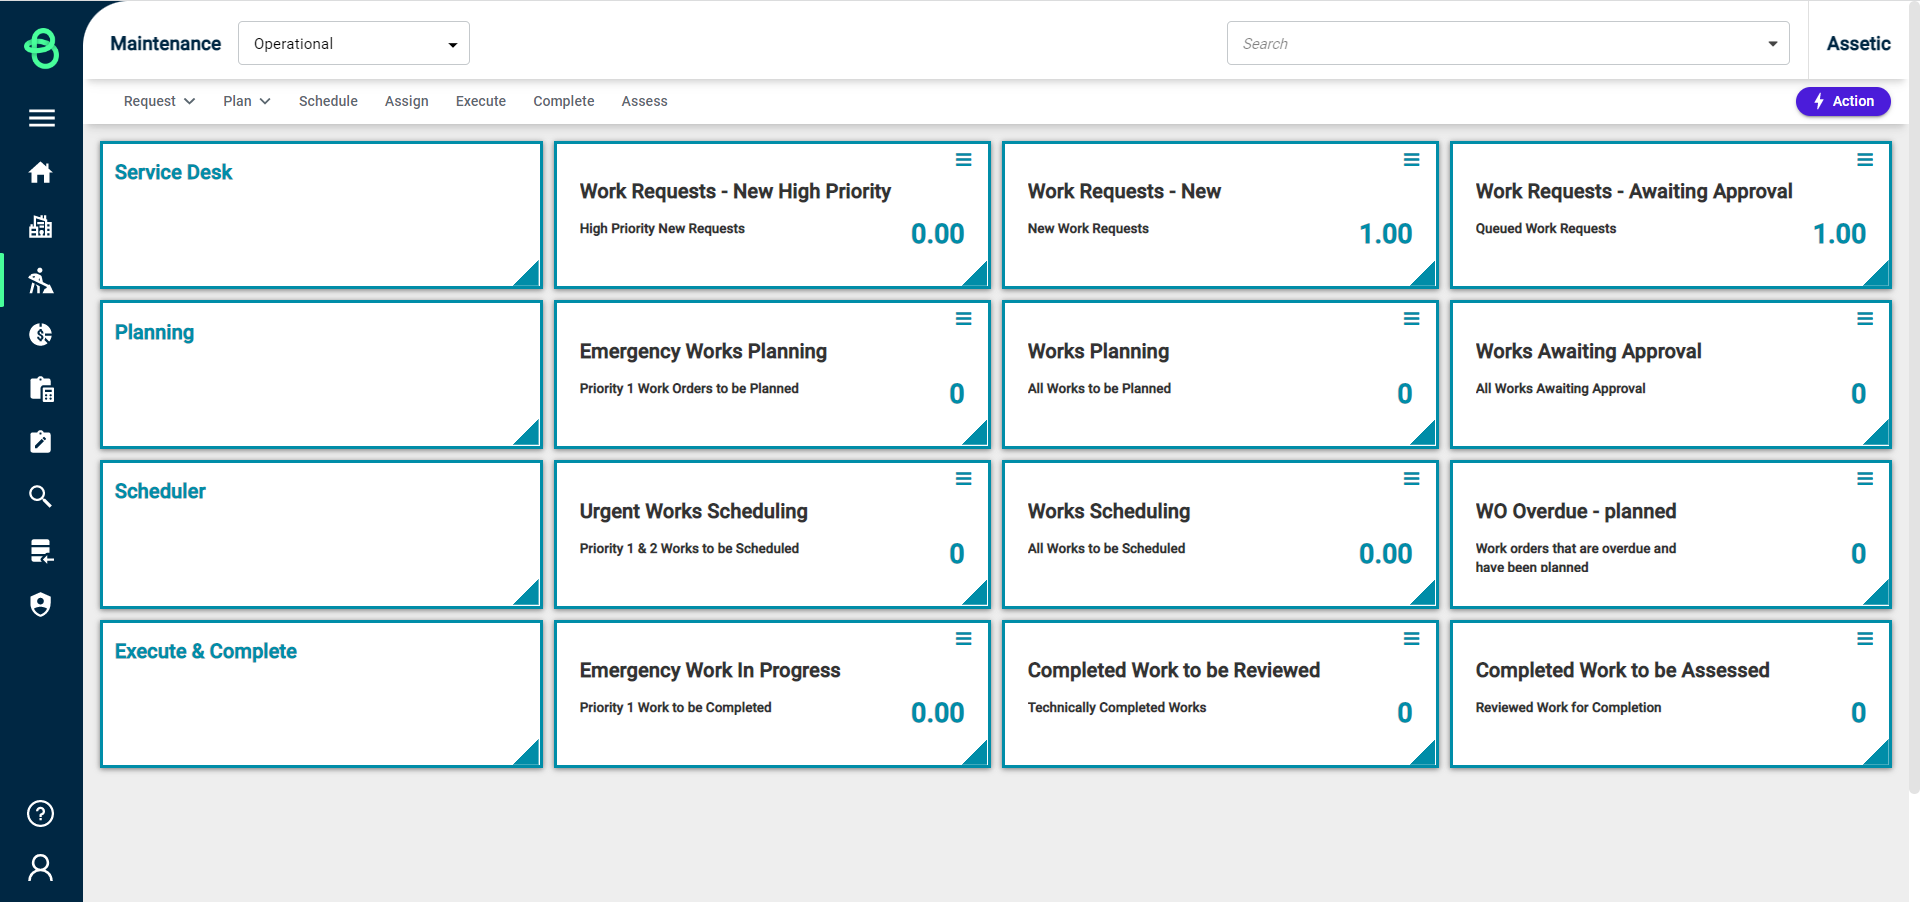
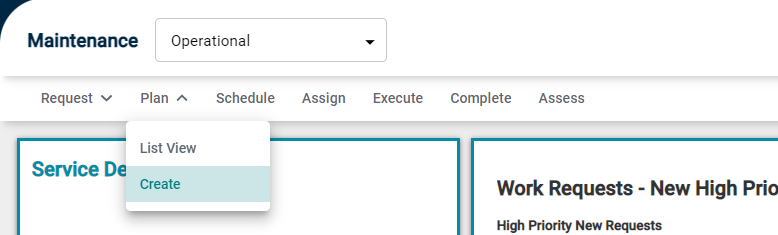
Select "Create" within the Plan tab menu to open the Work Order Create page.
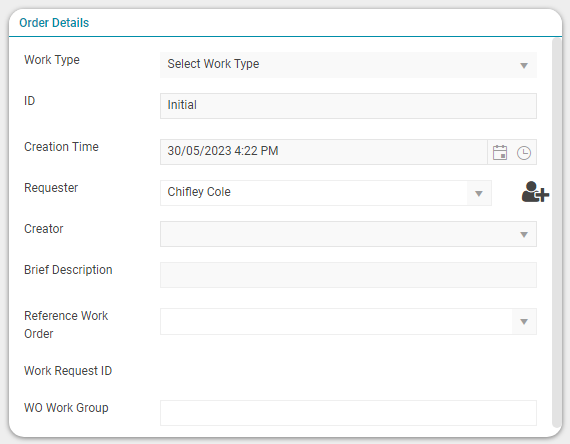
Order Details
The work order details are automatically populated with some fields that can be modified.
-
Work Type: A mandatory drop-down field to select the type of Work.
-
ID: This unique ID is automatically generated when the Work Order creation process is started.
-
Creation Time: The time and date are automatically generated by the system when the work order creation process is started.
-
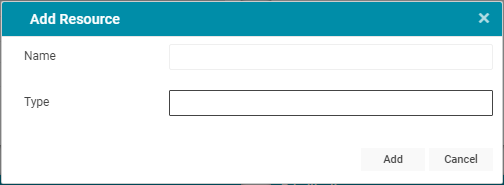
Requestor: The name of the resource who has requested this action. This resource field requires the Resource Type of User or Employee. A new resource can be added by selecting the person symbol
Selecting the person symbol produces the following view. This allows a user to create a new resource and specify the Resource Name and Resource Type.
-
Creator: An automatically populated field that contains the Resource that created the Work Request
-
Brief Description: An optional free-text field to allow users to enter a brief description of the Work Order.
-
Reference Work Order: This is an optional drop-down field that can be used to link the Work Order to another Work Order in the system.
-
Work Request ID: An automatically populated field that displays the linked Work Request, if the Work Order was created from a Work Request.
-
WO Work Group: A dropdown to select the Work Group for the Work Order, from the Work Groups that the Asset belongs to. By default, this is populated automatically with the Asset's Default Work Group.
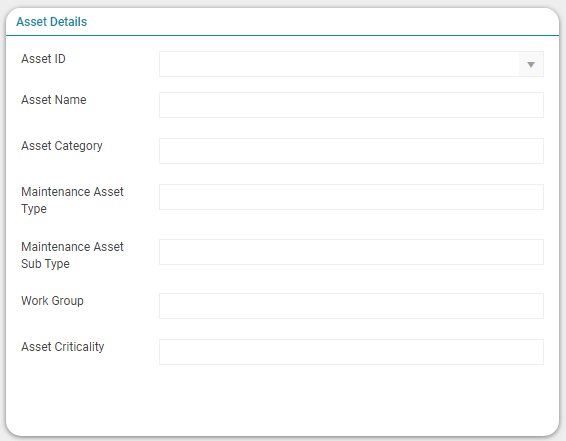
Asset Details
This area contains important information specific to the Asset. The following information needs to be manually entered or is assigned by the system:
-
Asset ID: The Asset ID is entered either manually or via a drop-down list. If the Work Order is linked to a Work Request this field will be automatically populated.
-
Asset Name: This section will be automatically populated after the Asset ID has been selected.
-
Asset Category: This section will be automatically populated after the Asset ID has been selected.
-
Maintenance Asset Type: This section will be automatically populated after the Asset ID has been selected.
-
Maintenance Asset Sub Type: This section will be automatically populated after the Asset ID has been selected.
-
Work Group: This section will be automatically populated after the Asset ID has been selected.
-
Asset Criticality: This section will be automatically populated after the Asset ID has been selected.
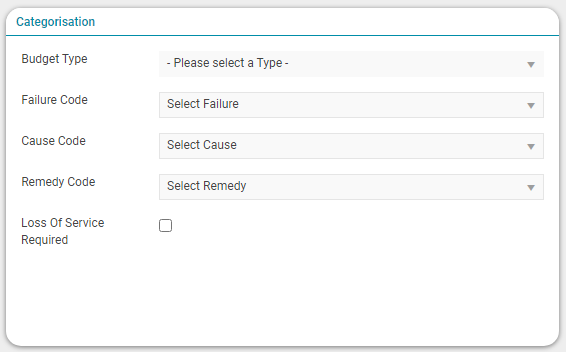
Categorisation
The categorisation section is where details about the budget type and failure coding is input into the work order:
-
Budget Type: This field is automatically populated depending on the work type selected, all types are assigned OPEX coding whereas PJ is assigned CAPEX.
-
Failure Code: The drop-down list details for failure code are populated as a result of the FCR that is allocated to an asset category.
-
Cause Code: The drop-down list details for cause code is populated as a result of the FCR that is allocated to an asset category.
-
Remedy Code: The drop-down list details for remedy code is populated as a result of the FCR that is allocated to an asset category.
-
Loss of Service Required: This check-box is used to indicate that there will be a loss of service provided by the Asset, required in order to carry out the Work Order.
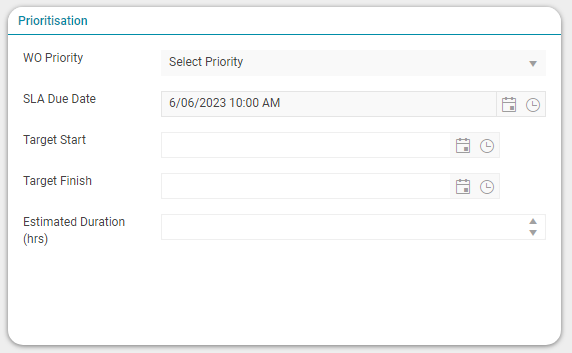
Prioritisation
Prioritisation allows the user to determine the risk and response time needed for the work order to be executed.
-
WO Priority: The priority is selected from a drop-down list. The priority is configured in the Admin Maintenance area and is linked to an asset type. This assists in generating the SLA Due Date. Note that the Priority will be blank if the Work Order was generated by a Preventative Maintenance program.
-
SLA Due Date: The Service Level Agreement (SLA) due date is automatically generated after the priority has been selected.
-
Target Start: The Target Start date is automatically generated based on the priority when creating a Work Order from a Work Request. It can be adjusted or set by selecting the calendar button to change the date and the clock button to change the time.
-
Target Finish: The Target Finish date is automatically generated based on the priority, however, is also able to be manually edited by selecting the calendar button to change the date and the clock button to change the time. This must be set after the Target Start date.
-
Estimated Duration (hrs): This field is manually entered based on the expected time it would take for the work order to be completed. The estimated duration uses hours as the Unit Type.
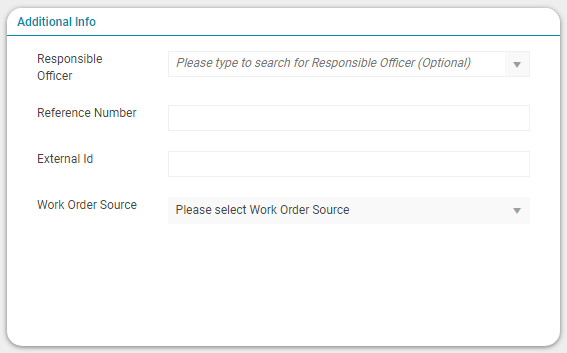
Additional Info
-
Responsible Officer: A resource to be designated as the Responsible Officer for the Work Order, which can be entered manually or selected using the drop-down list. The Responsible Officer must be an active resource. This resource field requires the Resource Type of User, Contractor, Employee or Company.
-
Reference Number: A free-text field that can be used to store any reference number. If the Work Order was created from a Work Request, this field will be pre-populated with the Reference Number field from the Work Request.
-
External ID: This field is available to reference an external ID either through integration or manual input.
-
Work Order Source: An optional drop-down field in which users can select Public Enquiry, Routine Inspection, or Safety Inspection to record the source of the Work Order.
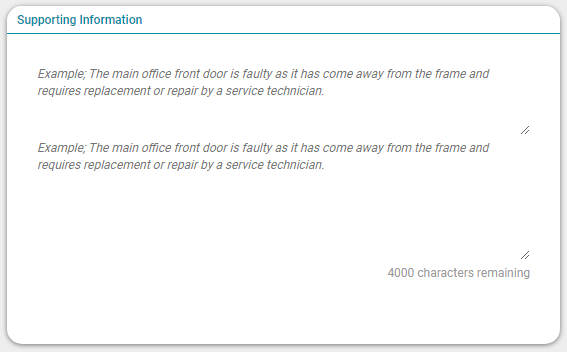
Supporting Information
This section allows for supporting free text to be entered to provide additional work order instructions. The text entered will be visible to the executor of the work order. Typical comments would include information relating specifically to the job, work area or tooling. The maximum length is 4000 characters.
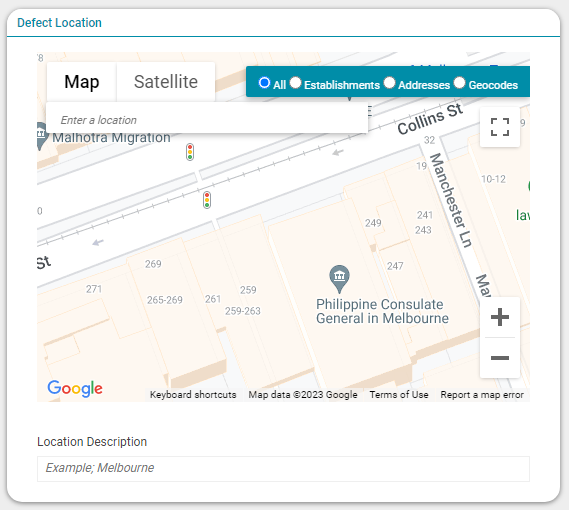
Defect Location
The Defect Location panel allows the user to define the location of where the asset or defect is located globally.
Defect location can be populated in two ways:
-
Auto-populated by the location assigned to an Asset (if it has been assigned).
-
Click "Edit" to modify or enter the location by typing in the location information in the search bar.
Attachments
The attachment panel enables a user to add documents and routes that are important to the Work Order. This can include items such as photos, manuals, check sheets, links, or other information important to the execution of the work order. Users can also download all attached GPX files at once using the 'Download All GPX Documents' button.
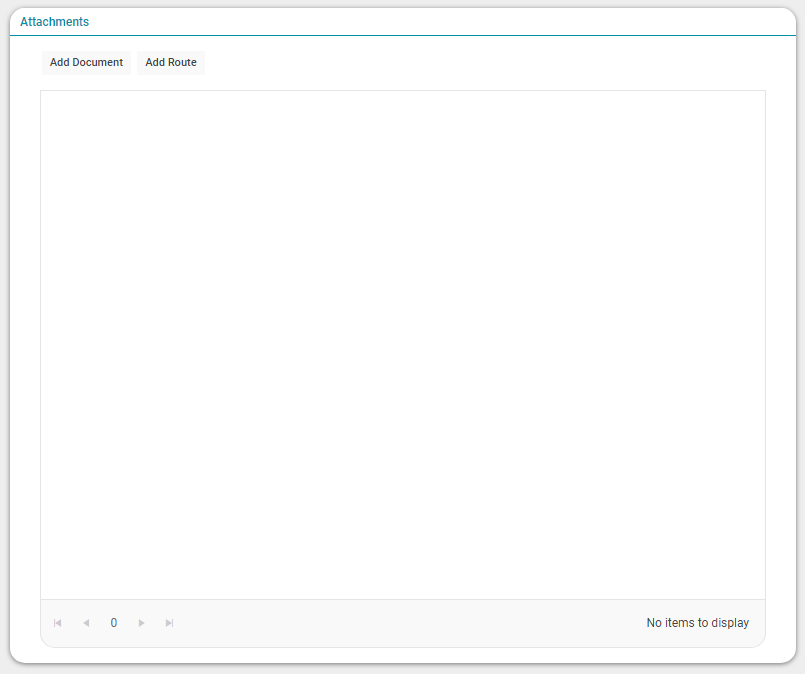
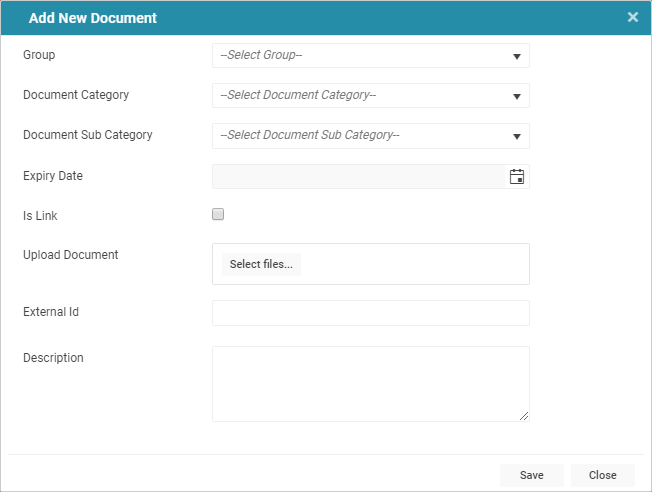
To add a new document click the "Add Document" button.
-
Group: A drop-down list that indicates what type of document is being added.
-
Document Category: A drop-down that indicates what type of category the document belongs to.
-
Document Sub Category: A drop-down that indicates what type of subcategory the document belongs to.
-
Expiry Date: A calendar selector that enters a date at which the document will no longer be active.
-
Is Link: A checkbox which if checked will designate the document as a hyperlink.
-
Upload Document: Clicking "Select files..." allows a user to navigate to a document within their local files to allow upload.
-
External Id: A optional free-text field that can contain an external reference ID for the document.
-
Description: An optional free-text field to allow users to enter a description of the document.
Once these sections have been completed, the Work Order can be saved from the Actions menu.
A Work Order begins in the 'INITIAL' status:
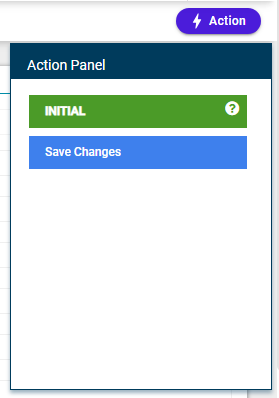
If all mandatory fields have been supplied correctly, the Work Order will move to the 'PREP' status and a confirmation dialogue will appear after saving.
With the Work Order created and saved, the Tasks, Labour, Materials, and Services required can be configured.
Task
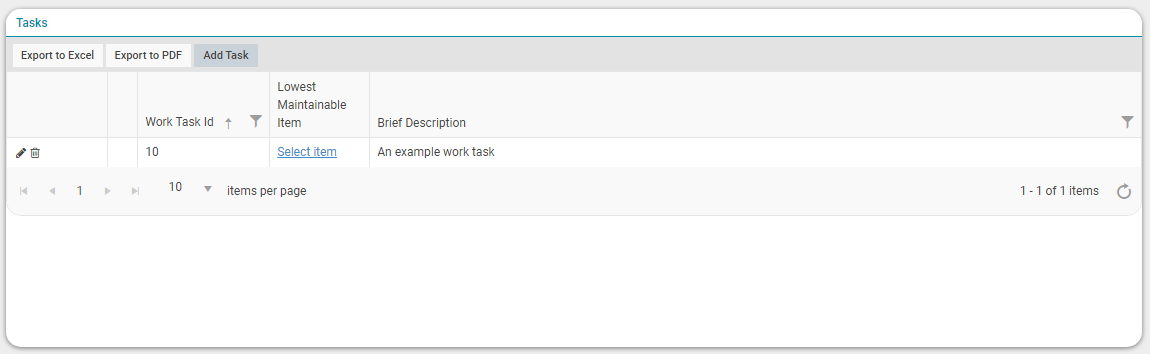
This section allows Tasks to be added to the Work Order. Click on "Add Task" to add a new Task line.
-
Work Task ID: Automatically generated ID that is sequential and increases by units of 10.
-
Lowest Maintainable Item: Clicking ‘Select Item’ will open a screen showing the Location Details for the Asset. If the Asset has any components, one can be selected to allocate it to a task.
-
Brief Description: A free text field to add a description of the task.
Clicking the Pencil icon will let you edit the Work Task details as shown below:
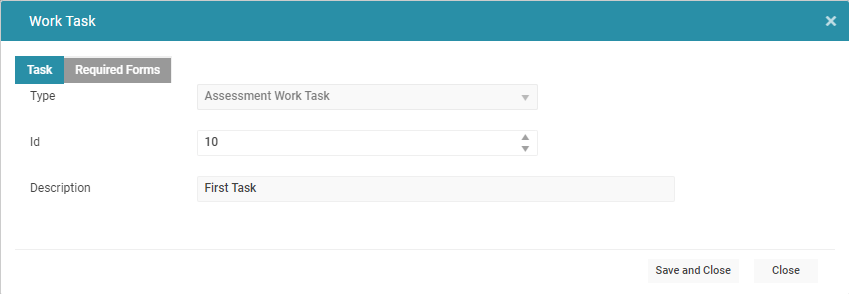
In the Required Forms section, users can view and fill the Assessment form results here.
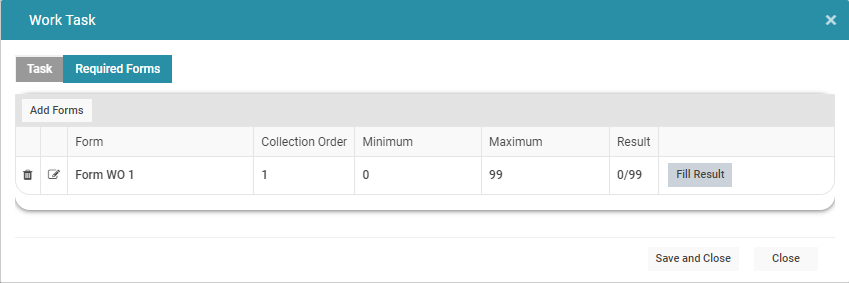
-
Collection Order: This determines the collection order in the mobility app.
-
Minimum: This specifies the minimum number of form results that must be submitted for this form. If the minimum is greater than zero, the form will not be skippable.
-
Maximum: The specifies the maximum number of form results that can be submitted for this form. If the maximum is left as '0' when adding a Form, it will be saved as a maximum of '9999'.
Labour
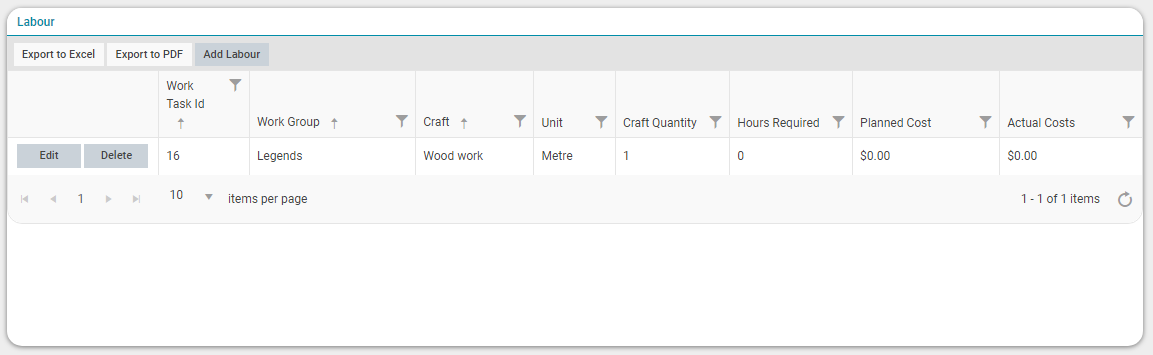
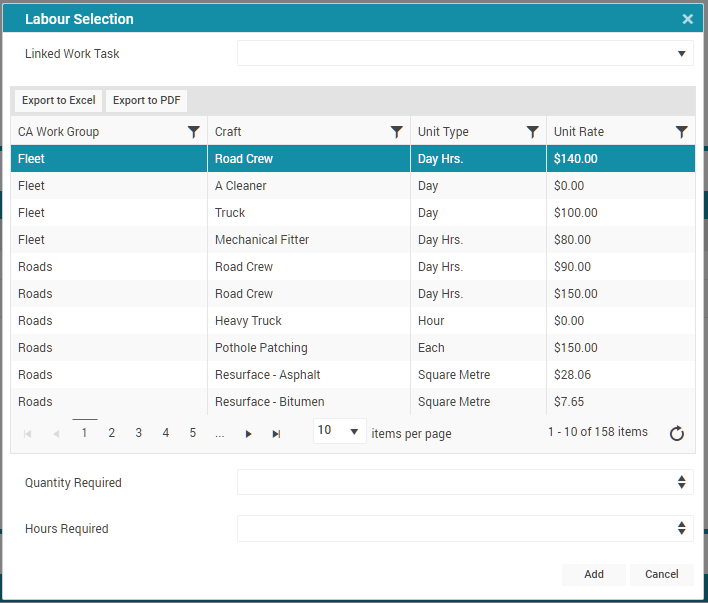
This is the section where Labour is added to the Work Order. Click on "Add Labour" to open the "Labour Selection" window and add a new Labour line.
By selecting an existing Work Task to link to the Labour, then selecting the Craft, Quantity Required, and Hours Required, will create the Labour line.
-
Work Task Id: Shows the linked Work Task ID, if configured.
-
Work Group: The Work Group for the selected Craft.
-
Craft: The selected Craft.
-
Unit: The Craft Unit Type.
-
Craft Quantity: The quantity of the selected Craft required.
-
Hours Required: The expected number of hours required to complete the Labour.
-
Planned Cost: The Planned Cost, as calculated by the Quantity multiplied by the Unit Rate.
-
Actual Costs: The Actual Cost, as calculated by the Quantity multiplied by the Unit Rate.
Resources
This section is where Resources are assigned to any labour previously added to the Work Order.
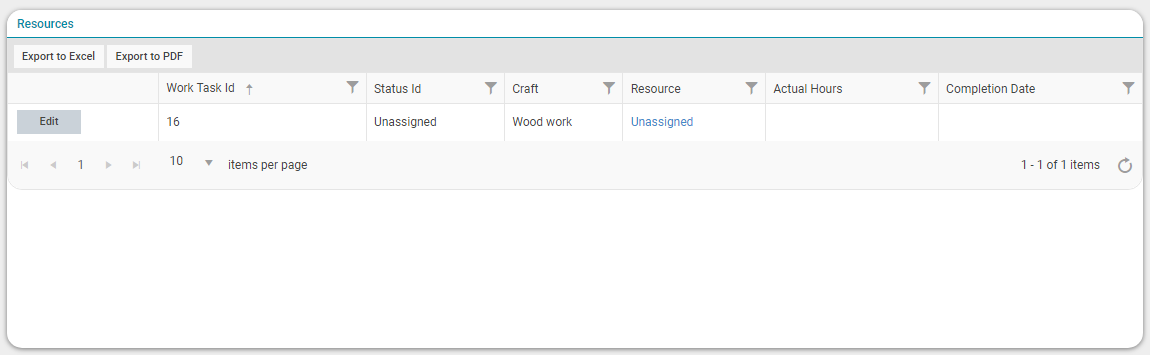
During the creation phase of a Work Order, this section is not visible.
Allocating resources to labour is done later, during the Assign process of the Work Order, and further information on this can be found in the Assign Work Order article located here.
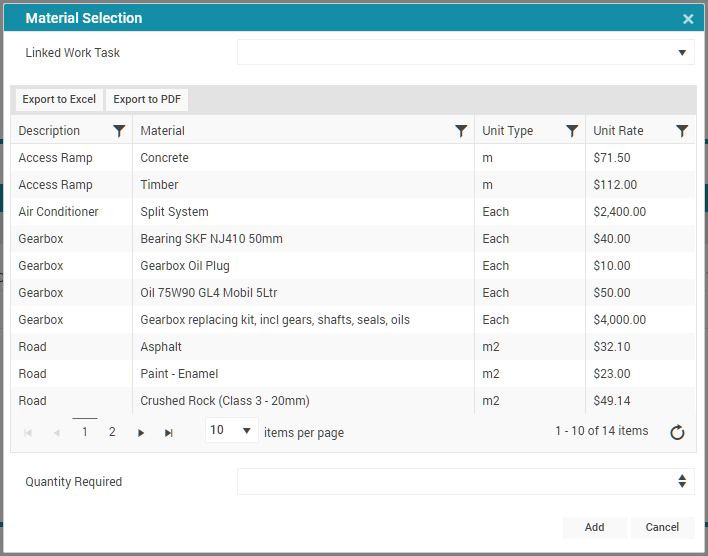
Materials
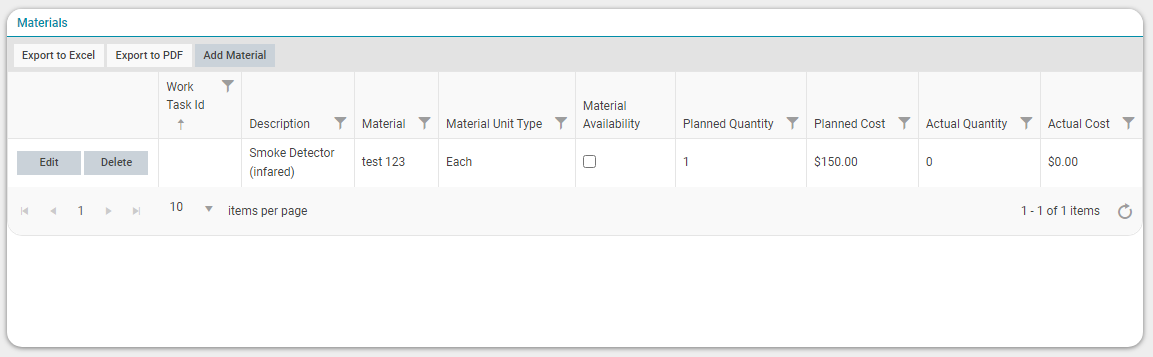
This is the section where Materials are added to the Work Order. Click on "Add Material" to open the "Material Selection" window and add a new Material line.
Optionally select an existing Work Task to link to the Material, then select the Material and Quantity Required, to create the Material line.
-
Work Task ID: The ID of the linked Work Task, if applicable.
-
Description: A description of the selected Material.
-
Material: The selected Material.
-
Material Unit Type: The unit type that the Material quantity and rate is measured in.
-
Material Availability: A checkbox which indicates if the Material is available or not.
-
Planned Quantity: The expected amount of Material required.
-
Planned Cost: The expected cost of the required Material.
-
Actual Quantity: The actual amount of the Material used.
-
Actual Cost: The actual cost of the used Material.
Services
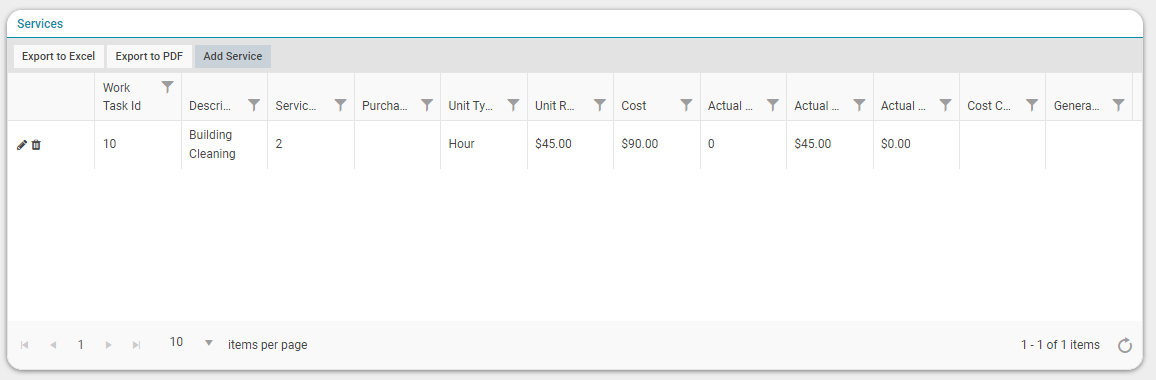
This section is where Services are added to the Work Order. Click on "Add Service" to open the Service window and add a new Service line.

-
Work Task ID: The ID of the linked Work Task, if applicable.
-
Service Activity: An optional drop-down to select a Service Activity, which will pre-fill the Description, Unity Type, and Planned Unit Rate fields, as configured in the Maintenance Admin module.
-
Description: A description of the Service. This can be pre-filled by selecting a Service Activity from the Service Activity drop-down when adding a Service.
-
Purchase Order Ref: A free-text field for a purchase order reference.
-
Unit Type: The unit type that the Service quantity and rate is measured in. This can be pre-filled by selecting a Service Activity from the Service Activity drop-down when adding a Service.
-
Planned Quantity: The planned amount of Service required.
-
Planned Unit Rate: The planned per-unit cost of the Service. This can be pre-filled by selecting a Service Activity from the Service Activity drop-down when adding a Service.
-
Planned Cost: A calculated field that shows the planned total cost of the Service.
-
Actual Quantity: The actual amount of Service required.
-
Actual Unit Rate: The actual per-unit cost of the Service. This will populate by default with the same value as the Planned Unit Rate, but can be changed.
-
Actual Cost: A calculated field that shows the actual total cost of the Service.
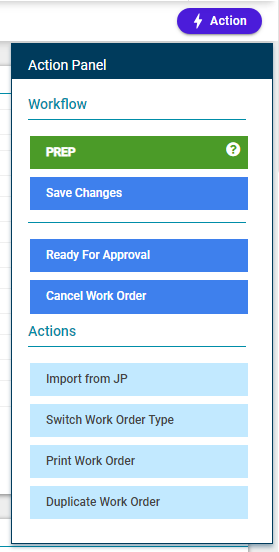
Once the Labour, Materials, Tasks, and Services have been configured, the Work Order can be saved and further progressed through its work flow using the Actions menu:
-
Save Changes: Click this button to save any changes to the Work Order.
-
Ready for Approval: Click this button to make the Work Order ready for approval.
-
Cancel Work Order: Click this button for the Work Order to be cancelled.
-
Print Work Order: Click this button to generate a printable version of the Work Order.
-
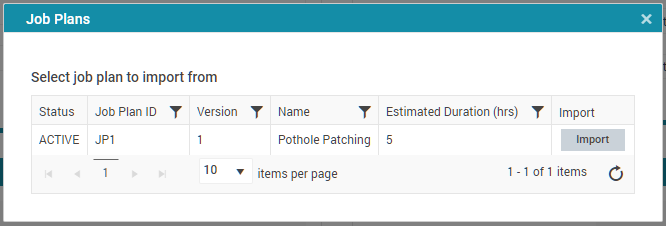
Import from JP: Click this button to import the key tasks from a developed job plan. This will look at job plans that reference that asset type.
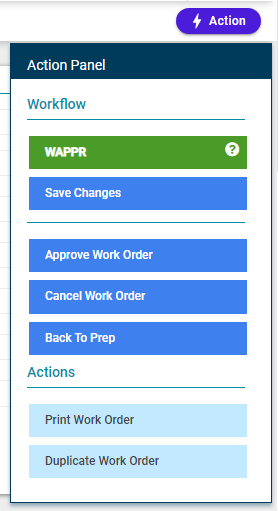
Once the Work Order has been marked as "Ready for Approval", the following screen becomes available for the Work Order Gatekeeper via the actions menu:
-
Save Changes: Click this button to save any changes to the Work Order.
-
Approve Work Order: Clicking this button will approve the Work Order.
-
Cancel Work Order: Clicking this button will cancel the Work Order.
-
Back to Prep: Clicking this button will move the Work Order back to the 'Prep' status.
-
Print Work Order: Clicking this button will generate a printable version of the Work Order.
Creating a Work Order Linked to a Work Request
The second method for creating a work order is via the "Actions" button within an open Work Request after the Work Request has been Approved. This will display the options menu seen below.
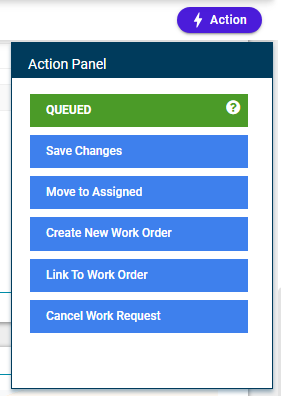
Selecting the "Create New Work Order" button loads a new Create Work Order screen with data automatically populated from the Work Request.
Creating a Work Order via the Data Exchange
The third method is available to Maintenance Admin users, who can use Data Exchange to import Work Orders.
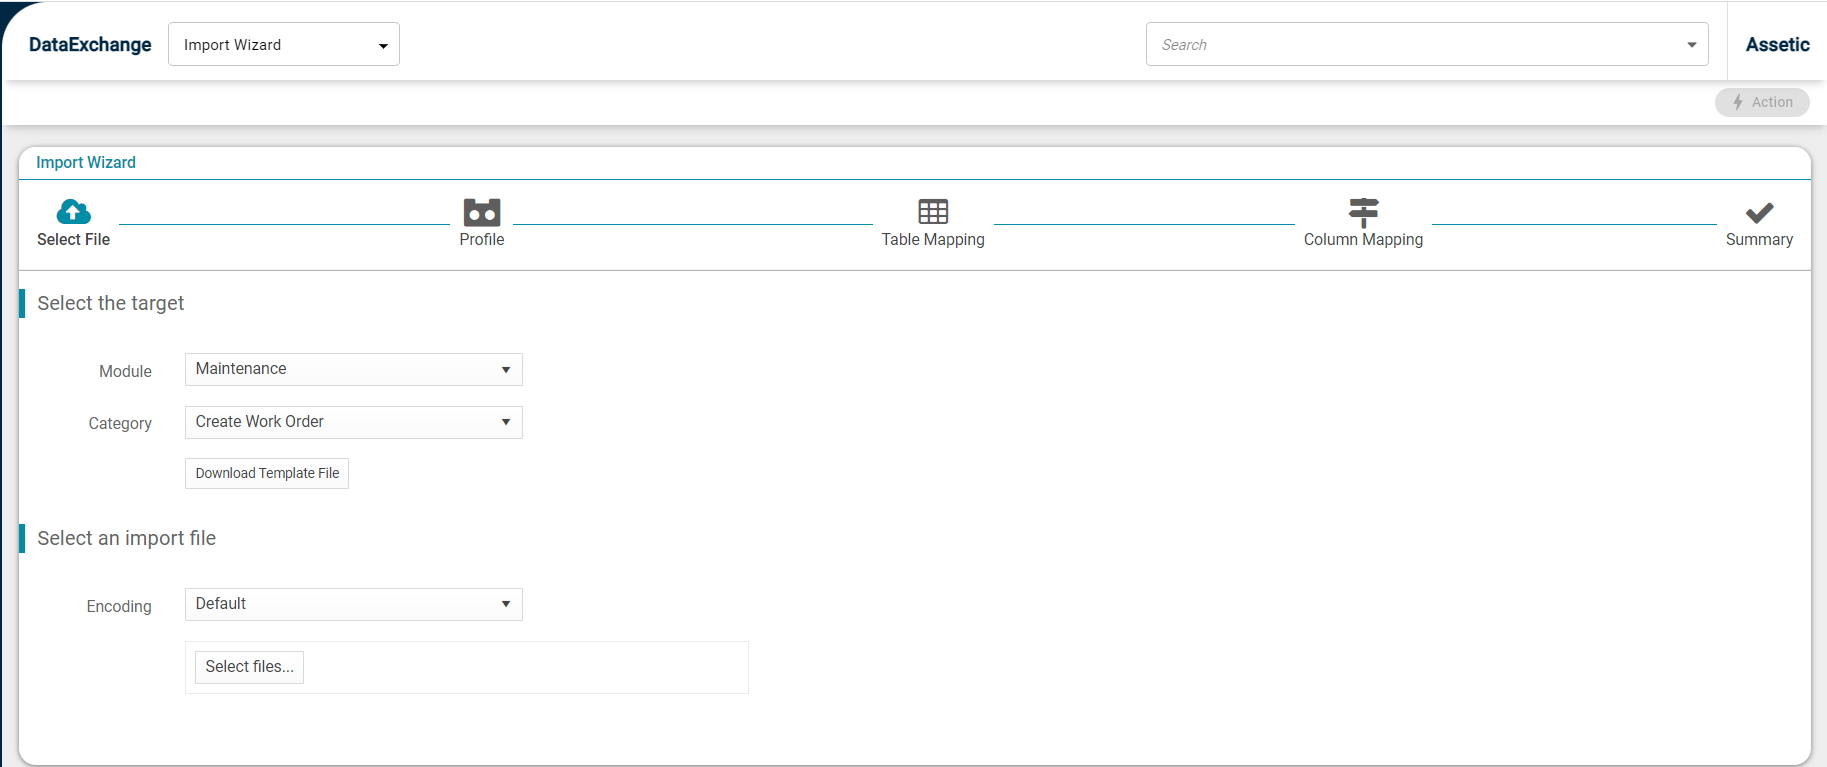
Select the Module as "Maintenance" and Category as "Create Work Order". Download the template file and populate the fields with relevant data.
Once complete, select the updated "Create Work Order" template to be imported.
Further information regarding the "Import Wizard" can be found here.
NOTE Data Exchange imports for Work Orders will only allow one value to be entered per Task field, Labour field, Materials field, and Services field. However, once imported into the system, users are able to add additional values for any fields through the Work Order UI.
Work Order Resource Type Requirements
Resource fields within Work Orders have restrictions on which resources can be selected for these fields based on the Resource Type. For example, when populating the Responsible Officer field, only Resources which have the Resource Type of Contractor, Employee, or Company, or are linked to a User will be valid options. These Resource Type restrictions apply when Resource fields are populated manually or populated using the Assetic REST API.
Organisations can use Data Exchange to update existing Resources with the Types needed in order to ensure Resources are compatible with appropriate fields. Additional information on updating resources in bulk via the Data Exchange can be found here.
A table detailing which Resource Types are usable by which Work Order Resource fields is included below.
| Work Order Fields | Resource Type | ||||||
| User | Team | Customer | Contractor | Employee | Company | None | |
| Requester | Y | Y | |||||
| Responsible Officer | Y | Y | Y | Y | |||
